Flutter Web & Mixpanel
Connecting the Flutter Web with the events of Mixpanel

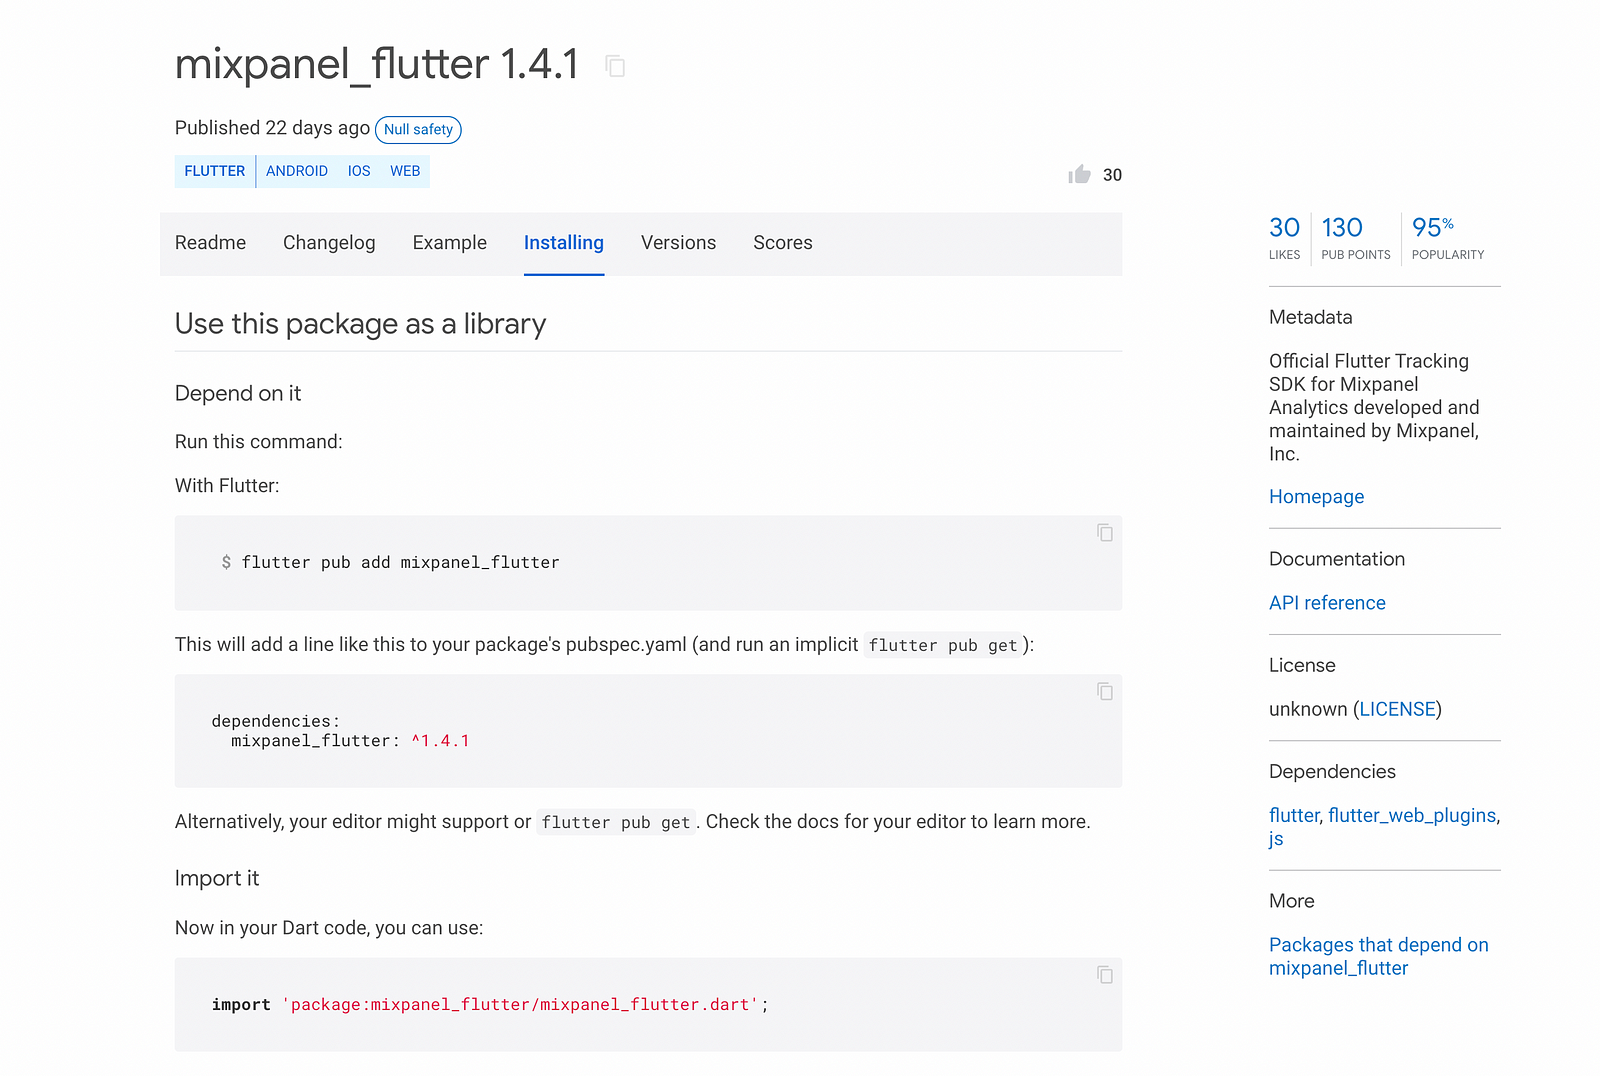
Support for Flutter Web was released 12/03/2021 from MixPanel:
Using this information, we’re going to connect Mixpanel with the Flutter Web. A cool thing to note; the Flutter Web support will also works for the mobile version - talk about banging two things out at once!
We’re going to do this from the beginning, but I am going to make the assumption that you at least know how to install flutter and get that working before you begin this tutorial. If you don’t… check out the Flutter Website to get that going and come back here once you finished!
Also, I’ll be using IntelliJ as my IDE of choice but feel free to use what you please.
With that said… let’s get started!
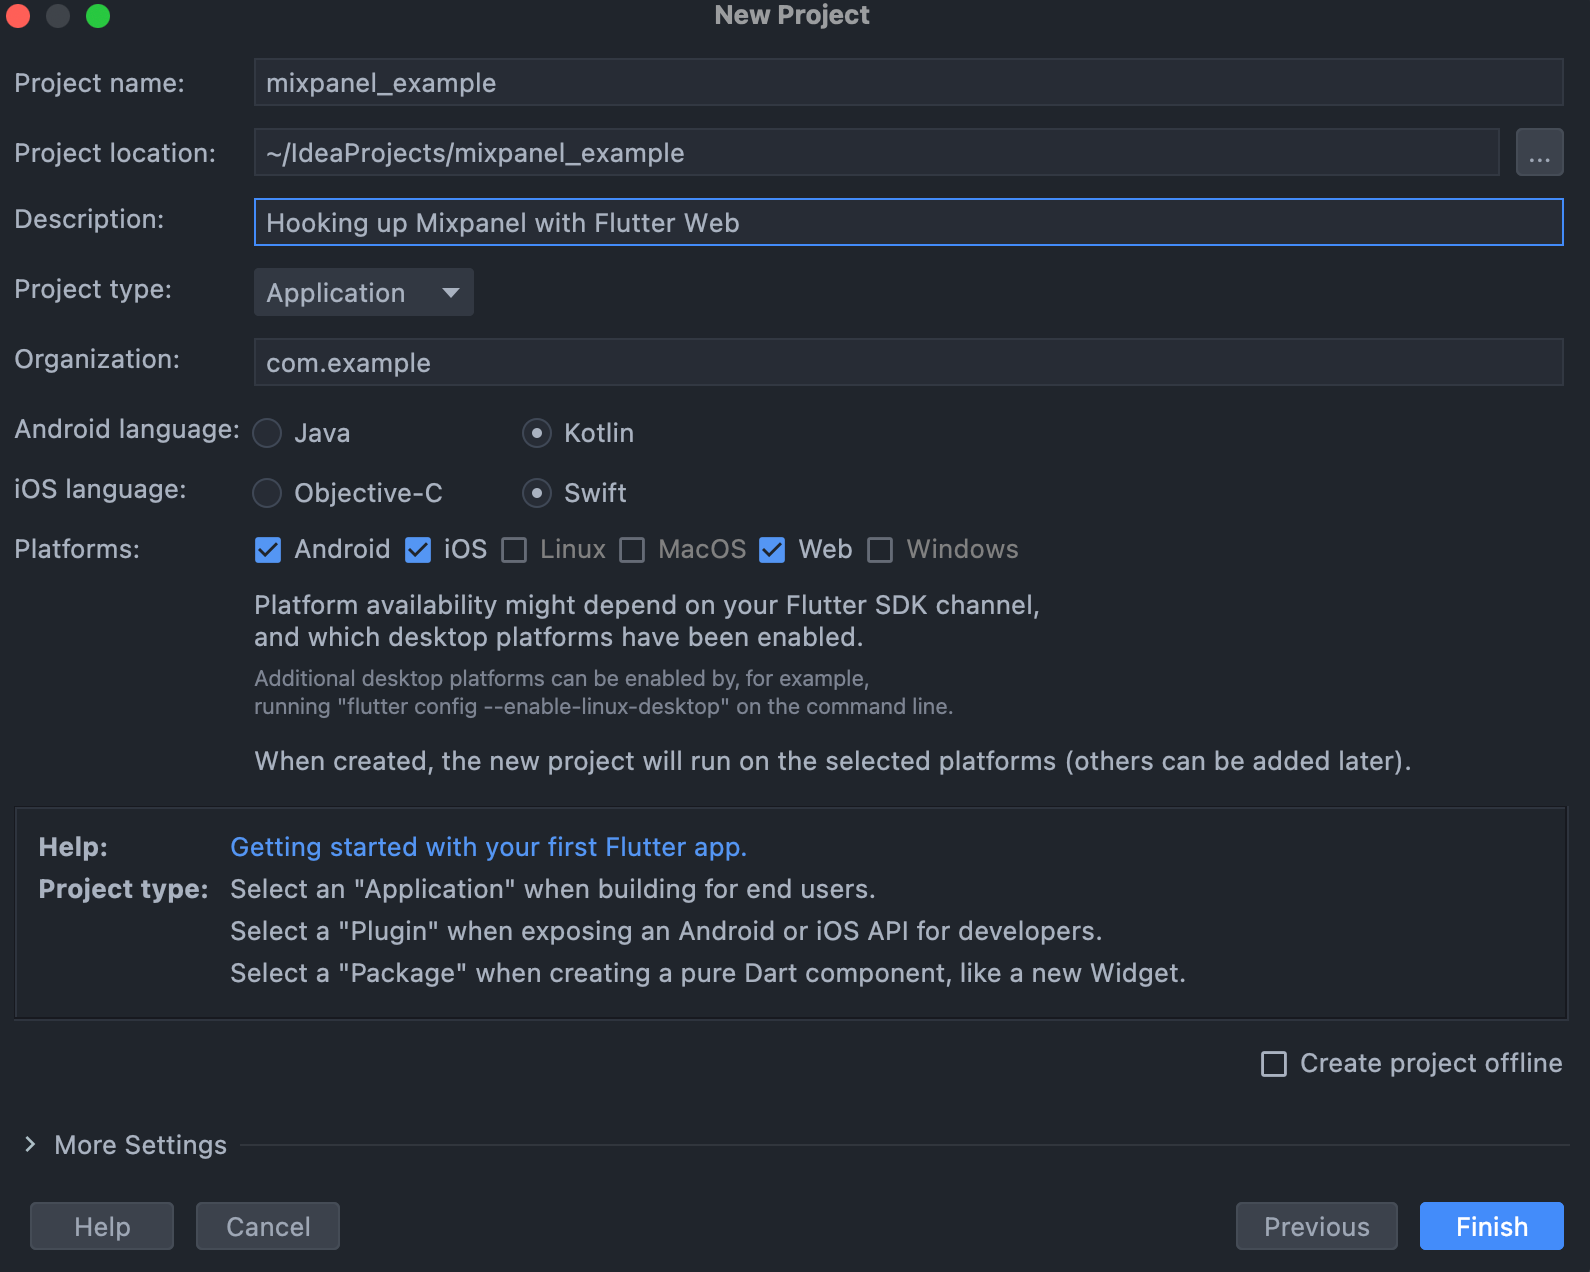
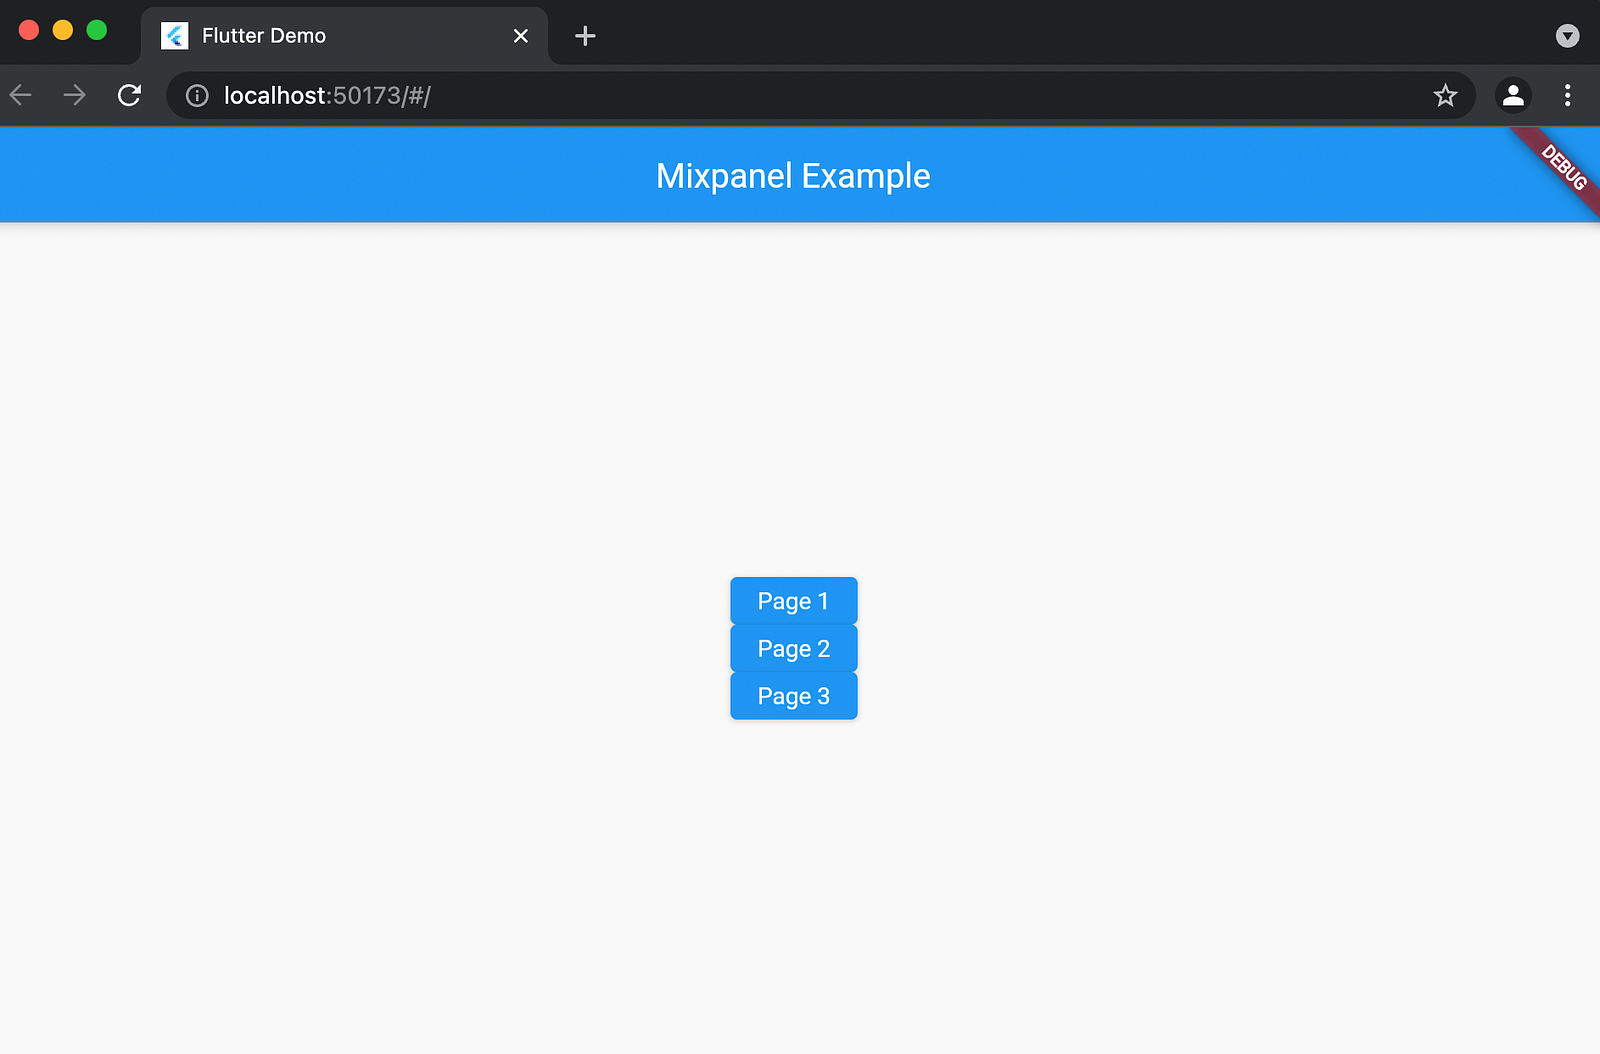
- Start a blank Flutter Project and call it whatever you want. Make sure you have web enabled!
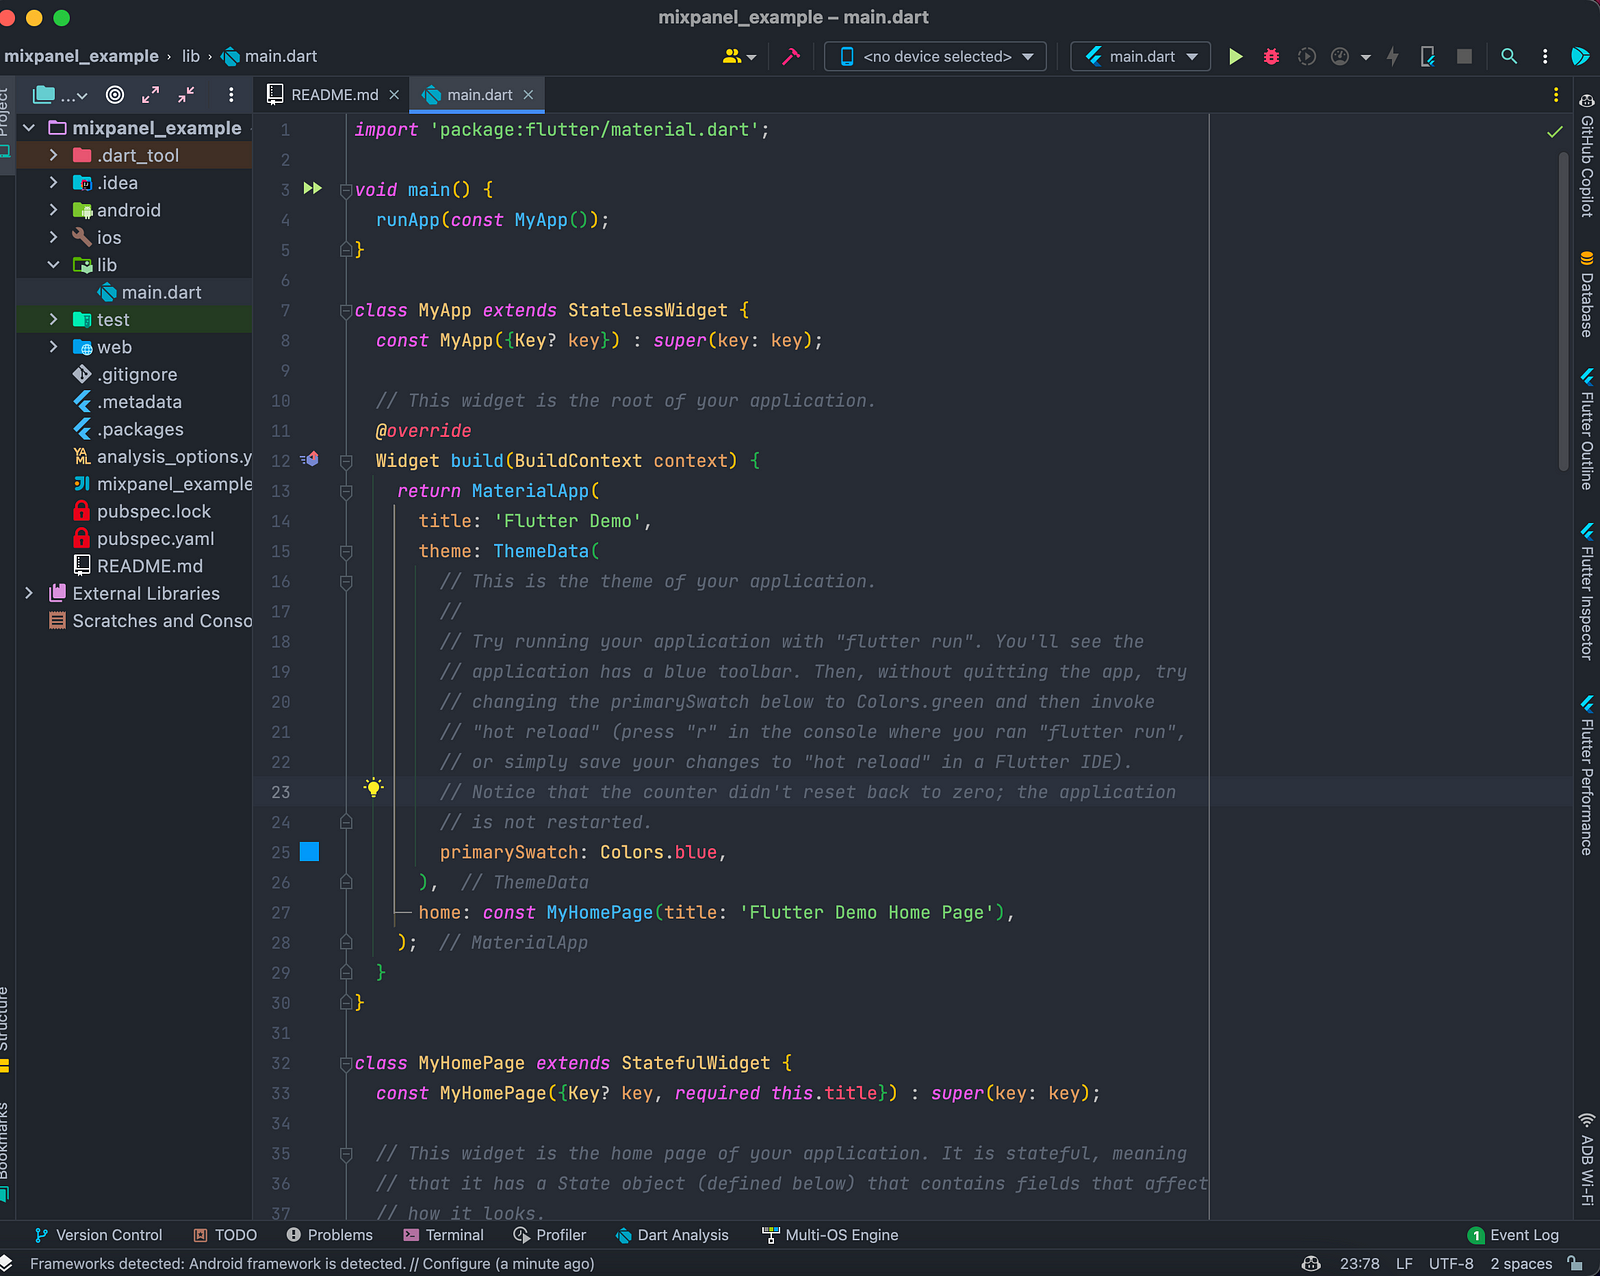
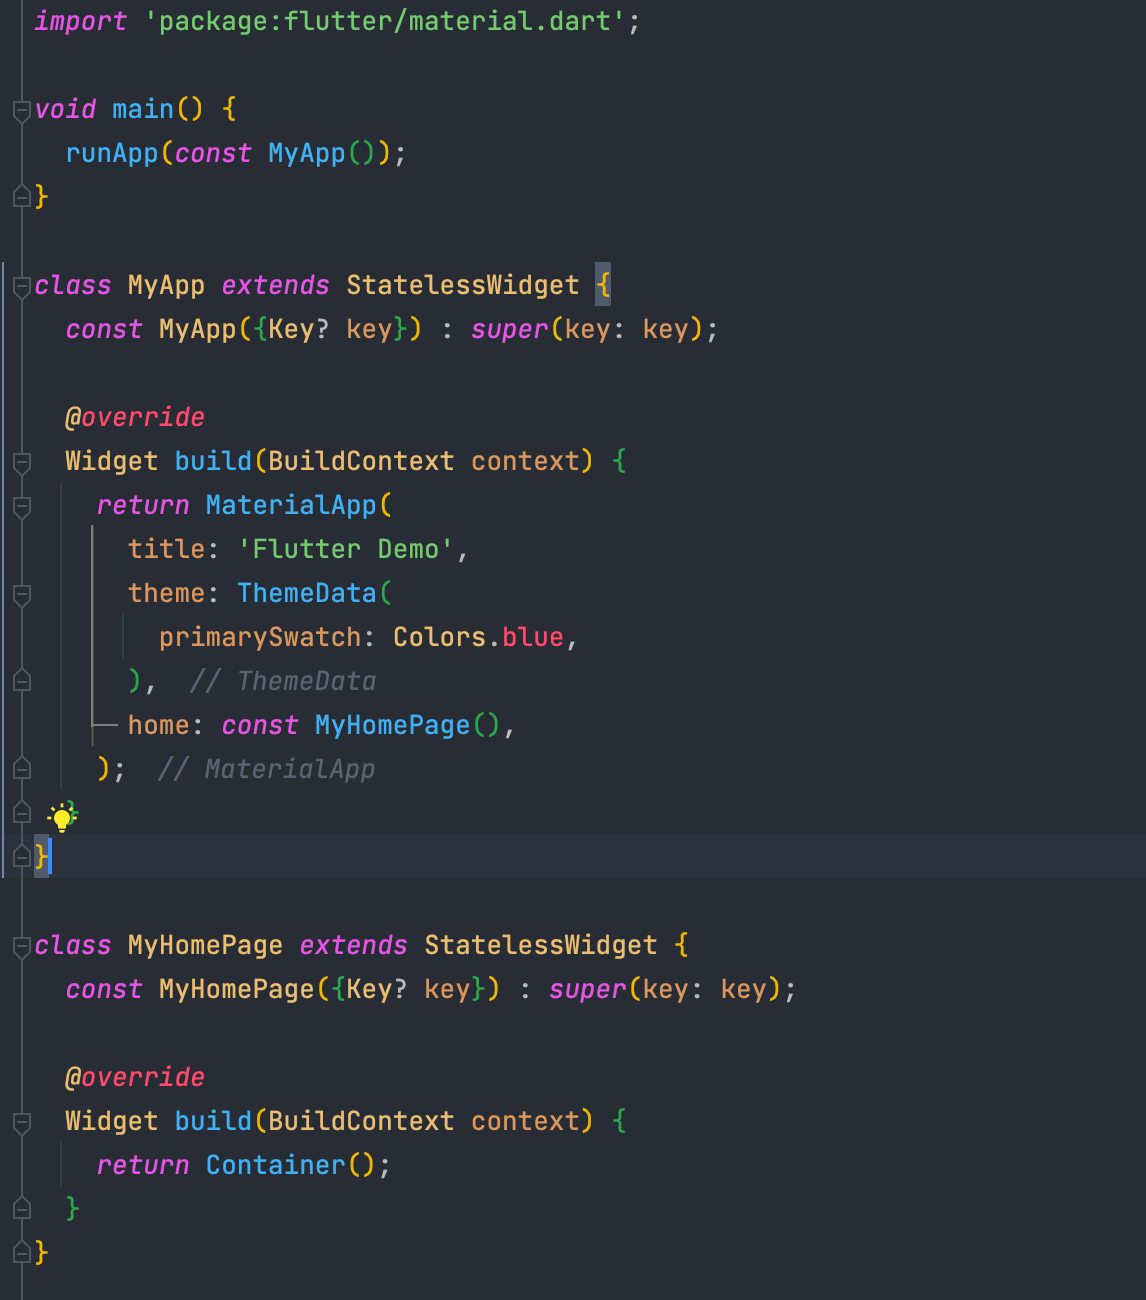
2. Clean up that boiler plate! We’re going to remove all of the commented and old counter app code!
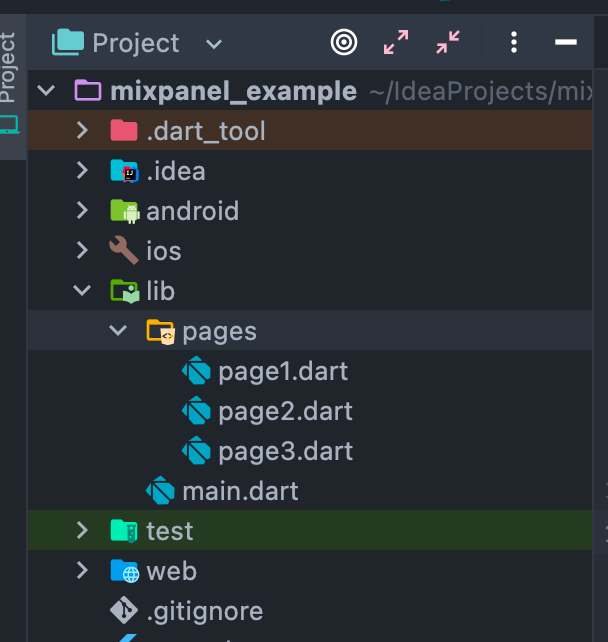
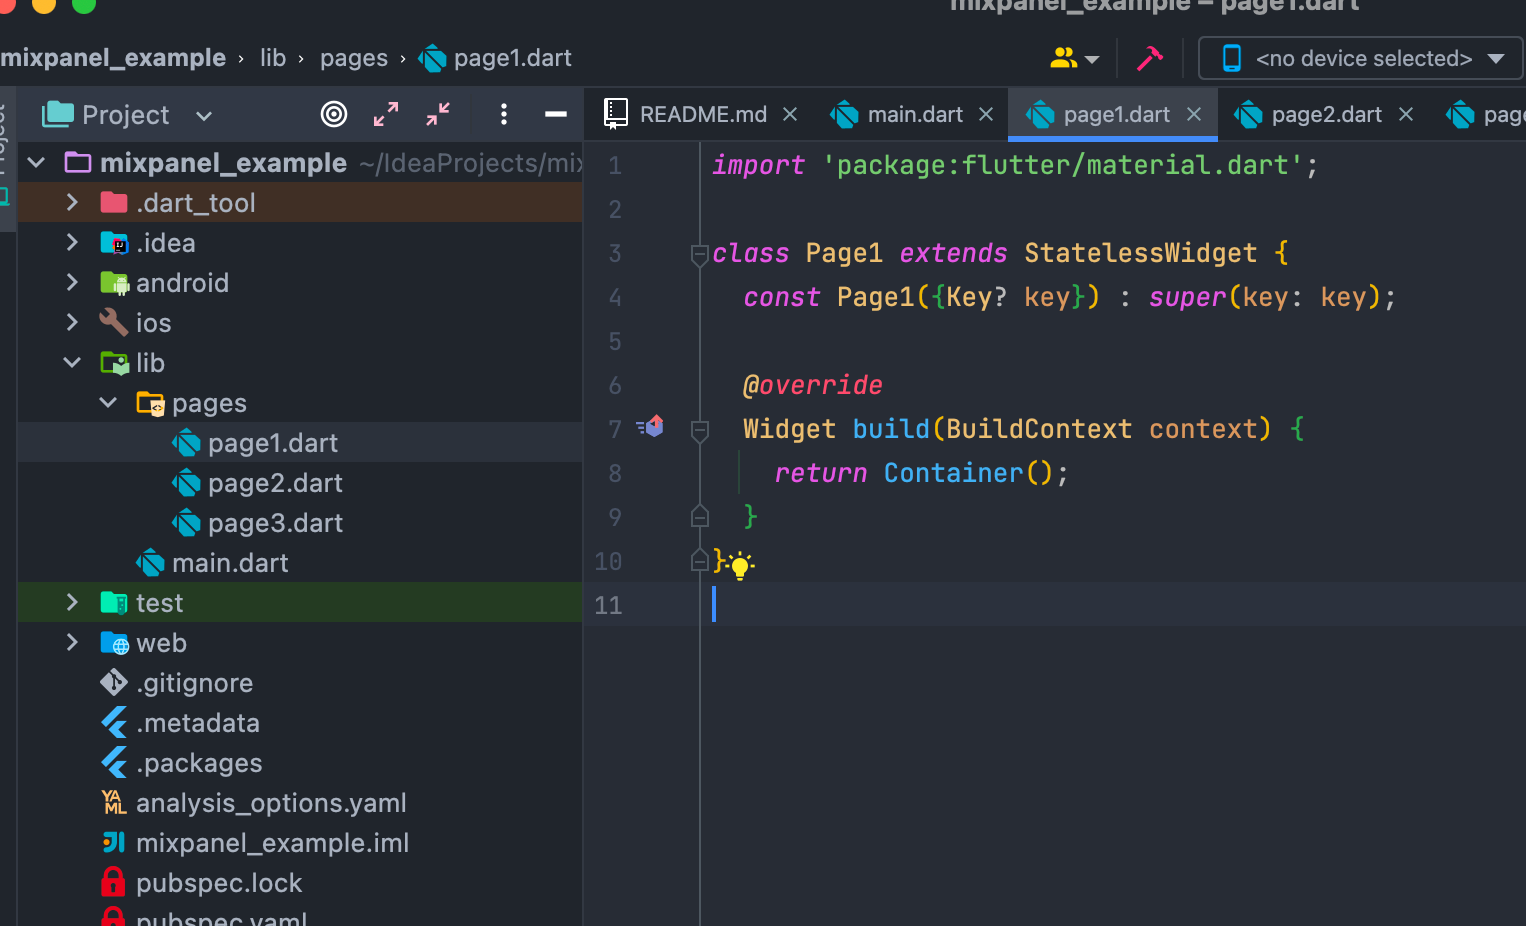
3. We’re going to create 3 separate pages within our lib folder. This step is going to help us demonstrate the power of Mixpanel in our later steps! So let’s do some prepping. Each page is going to contain very generic code to keep this super simple.
4. Create Navigation routes to each of our generic pages. We’re going to shortly demonstrate events from pages via MixPanel with these routes!
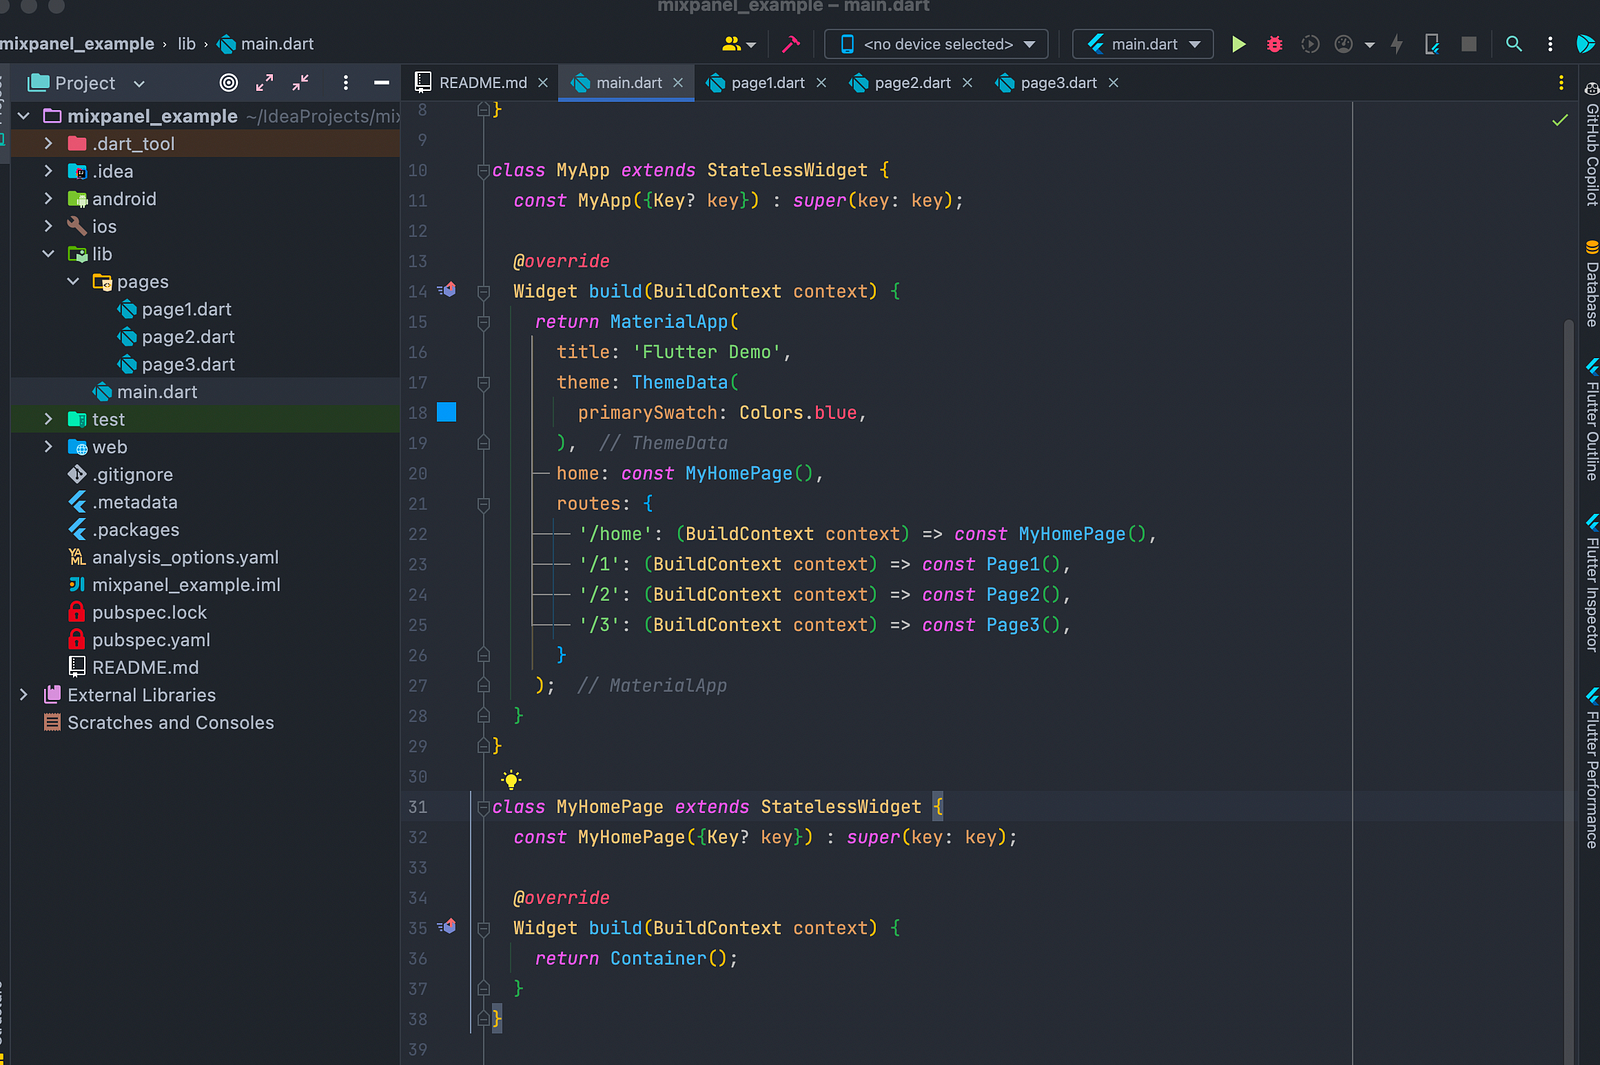
5. The last part of our prepping step, we are going to create basic buttons within all of our pages to be able to route between them!
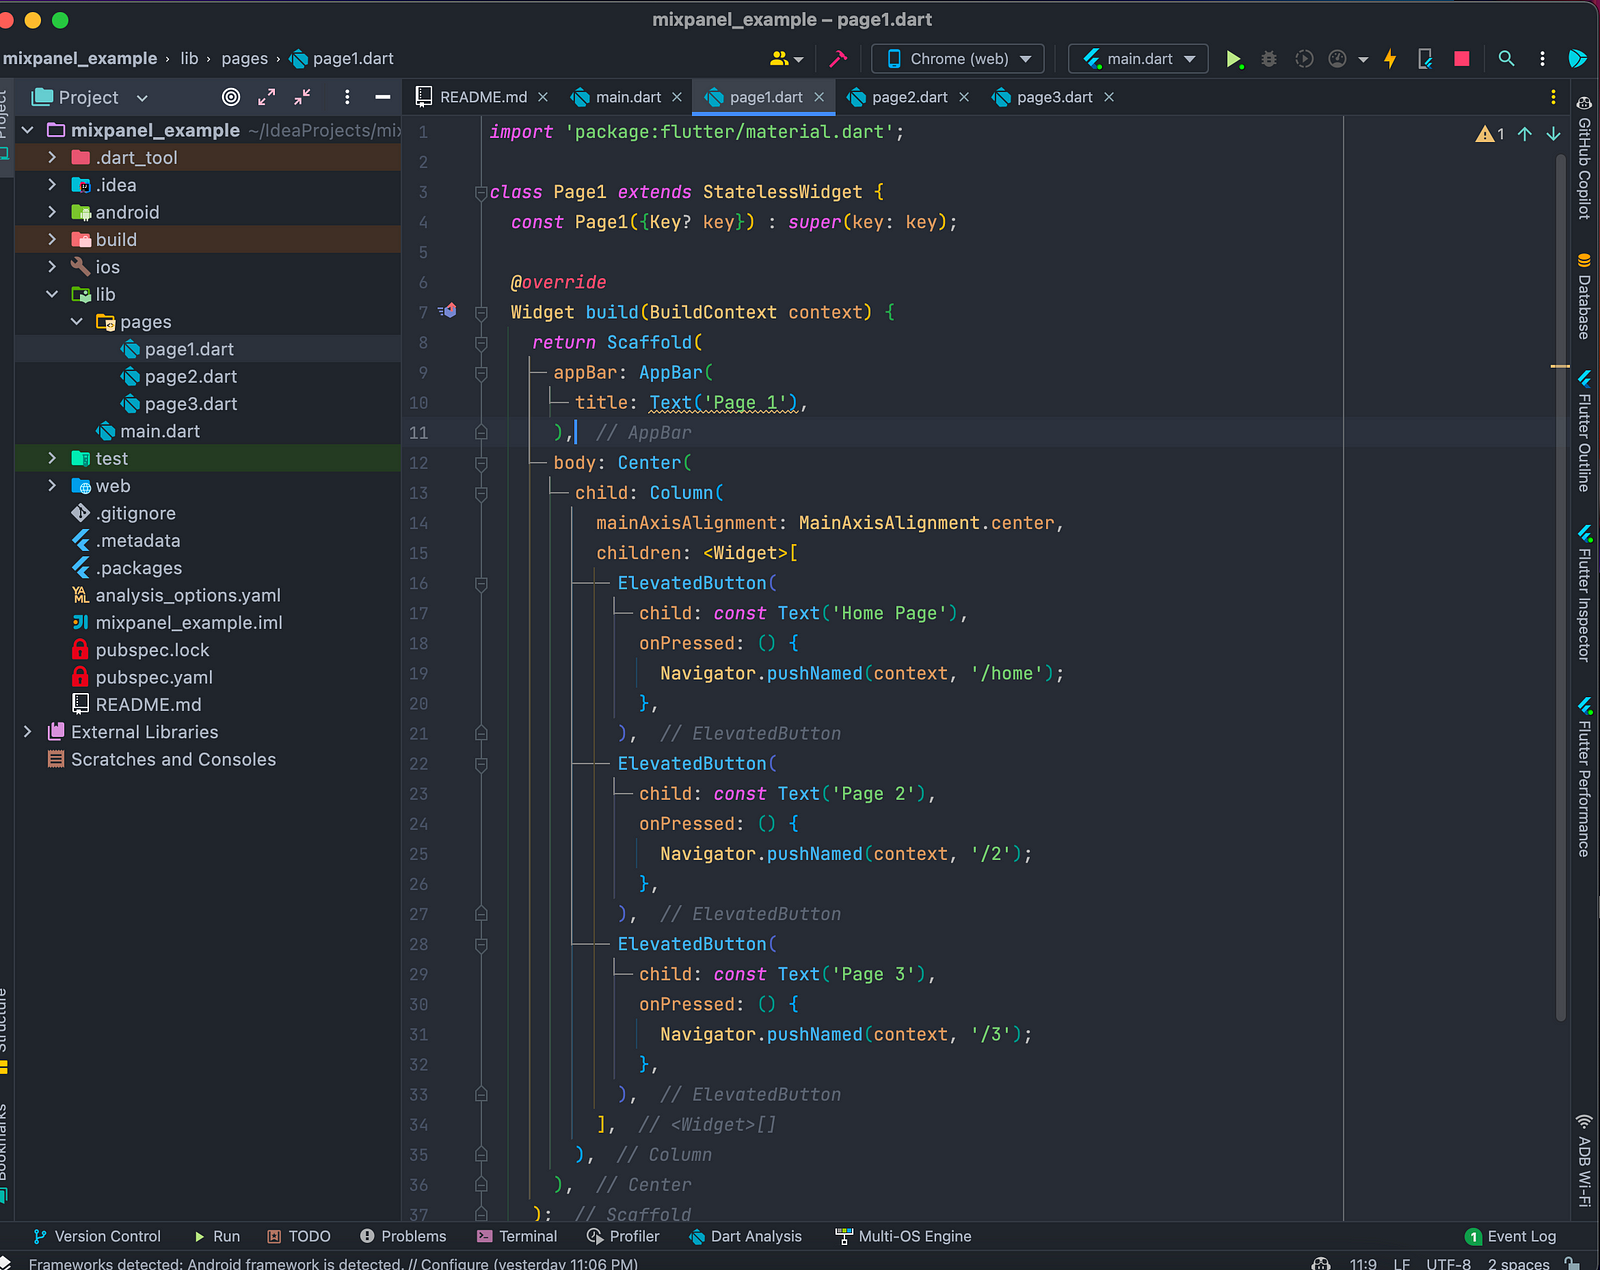
Here’s the gist of the code — that you can copy and paste! Apply this to all (4) pages — main, page1, page2 and page3. Make sure you adjust the code to match the page you are pasting this onto.
// Make sure you change the route names and titles according to the page you are copying and pasting this code to!
return Scaffold(
  appBar: AppBar(
    title: const Text('Mixpanel Example'),
  ),
  body: Center(
    child: Column(
      mainAxisAlignment: MainAxisAlignment.center,
      children: <Widget>[
        ElevatedButton(
          child: const Text('Page 1'),
          onPressed: () {
            Navigator.pushNamed(context, '/1');
          },
        ),
        ElevatedButton(
          child: const Text('Page 2'),
          onPressed: () {
            Navigator.pushNamed(context, '/2');
          },
        ),
        ElevatedButton(
          child: const Text('Page 3'),
          onPressed: () {
            Navigator.pushNamed(context, '/3');
          },
        ),
      ],
    ),
  ),
);
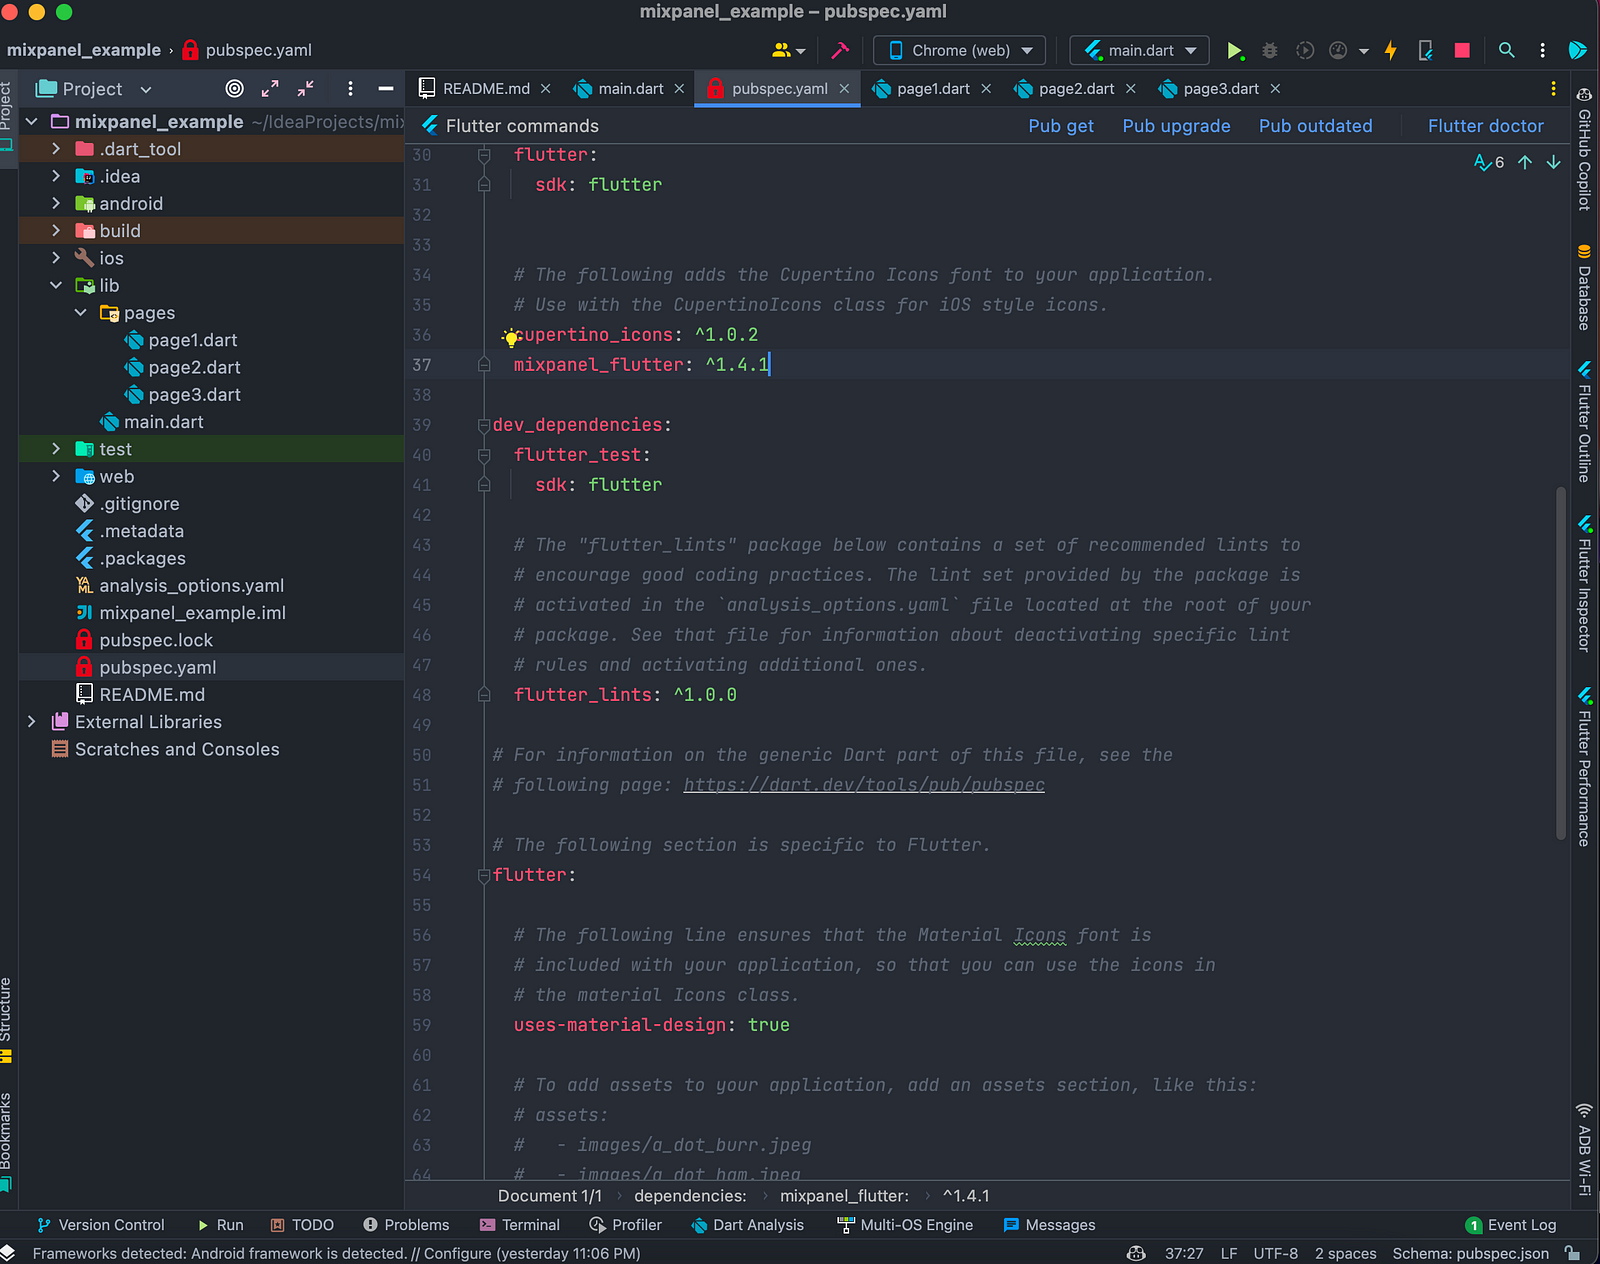
6. Setting up the mixpanel_flutter package! Now that we’ve done prepping — let’s download the mixpanel package onto our pubspec.yaml.
https://pub.dev/packages/mixpanel_flutter
7. Start up a Mixpanel Project on the website and locate your project token.
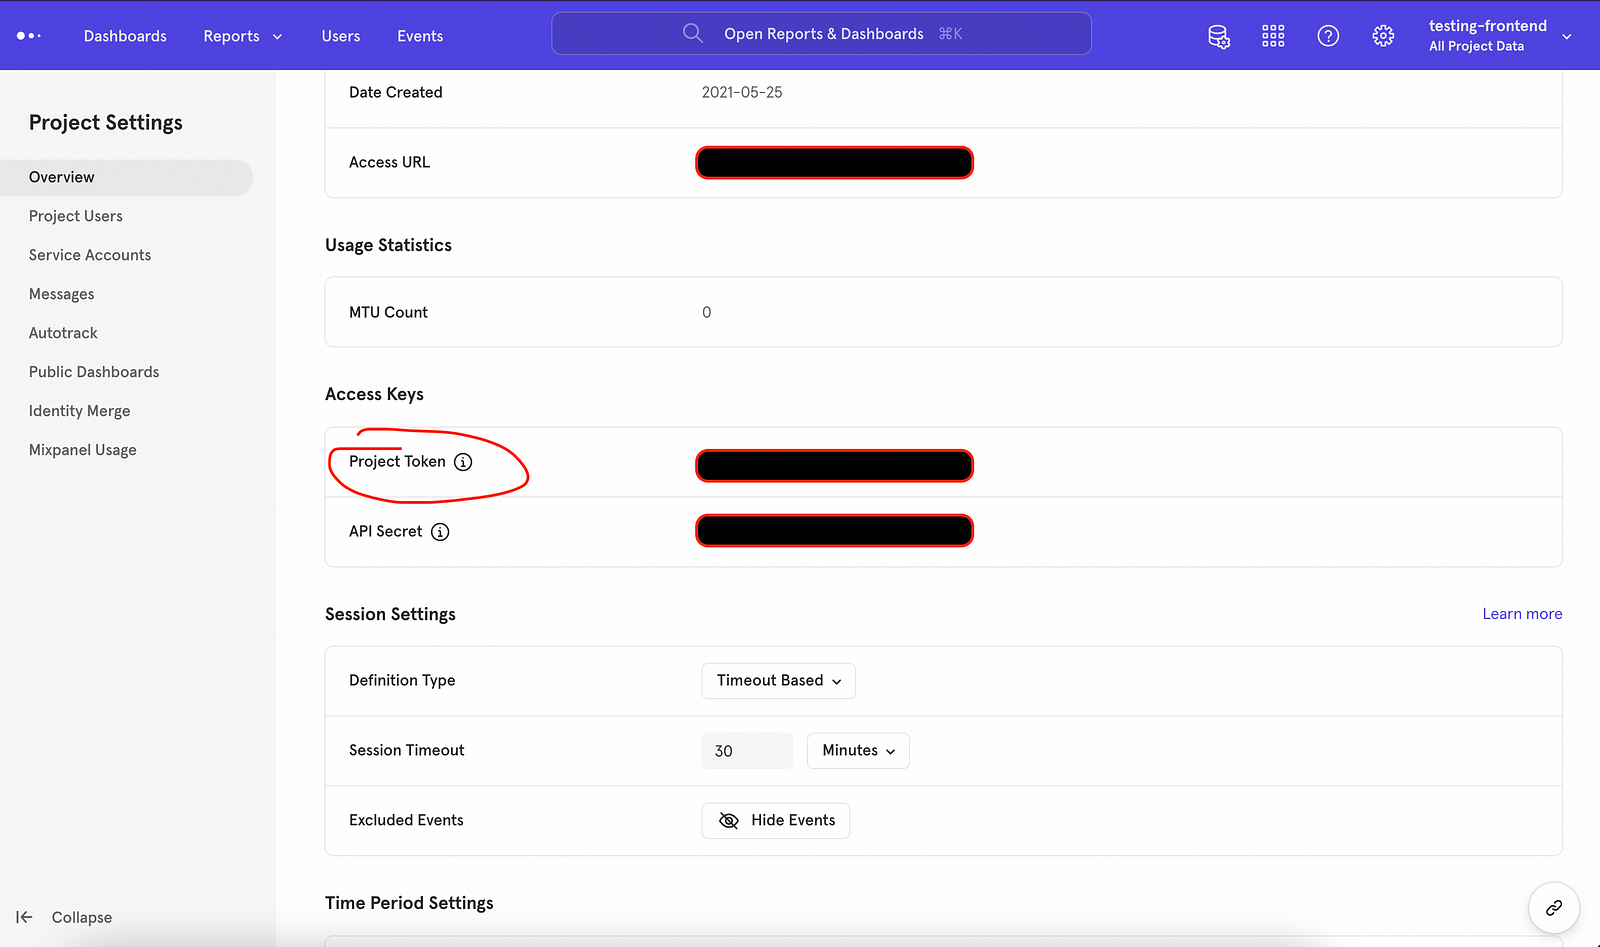
Creating a project on mixpanel will allow you to access the Project Token. This is located under the settings within the project.
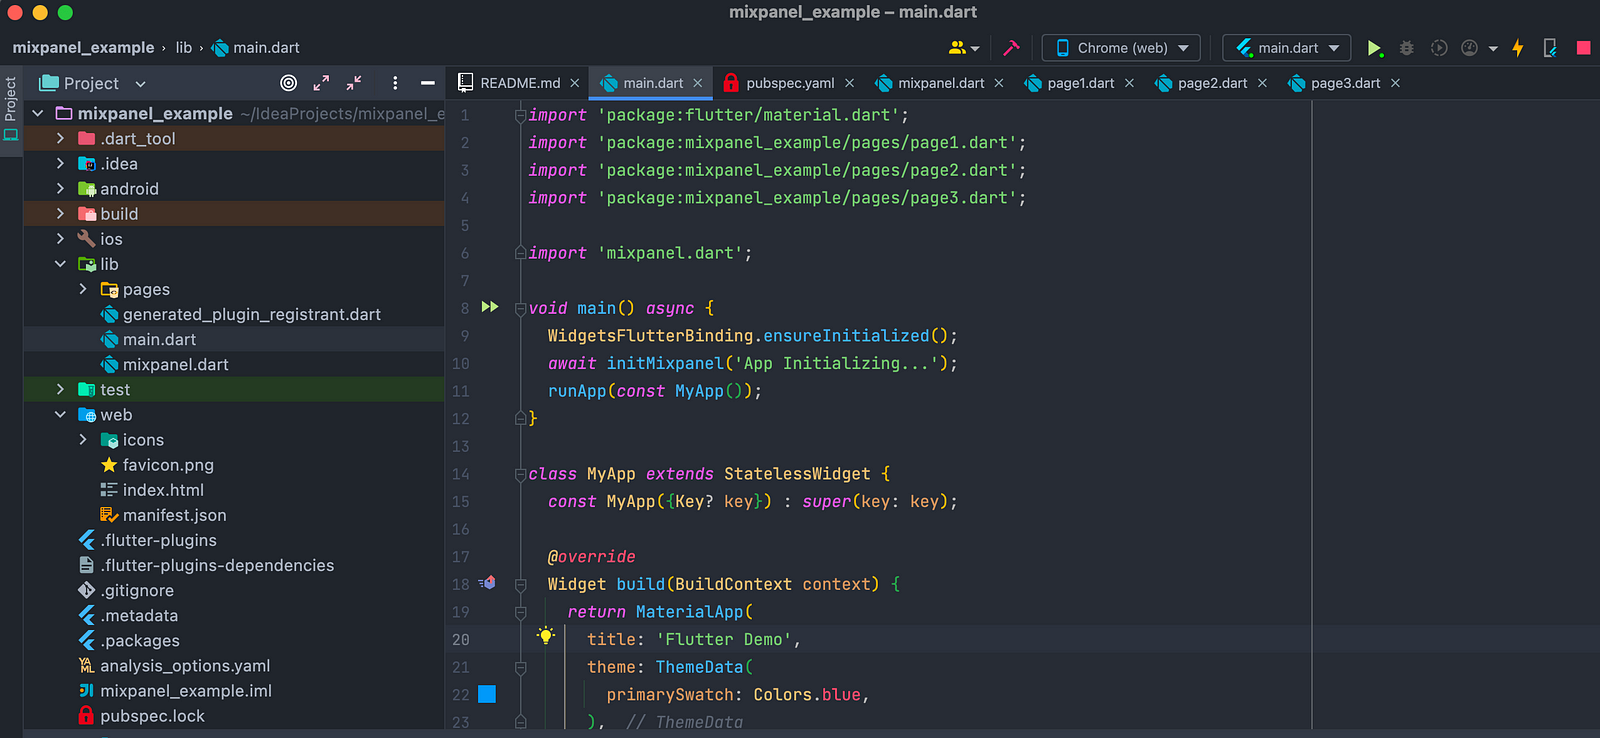
8. Now that you are aware of your token for your project on Mixpanel, let’s use it in our project! First we need to create a custom class to initialize it on our main() function. (It’s easier than how it sounds).
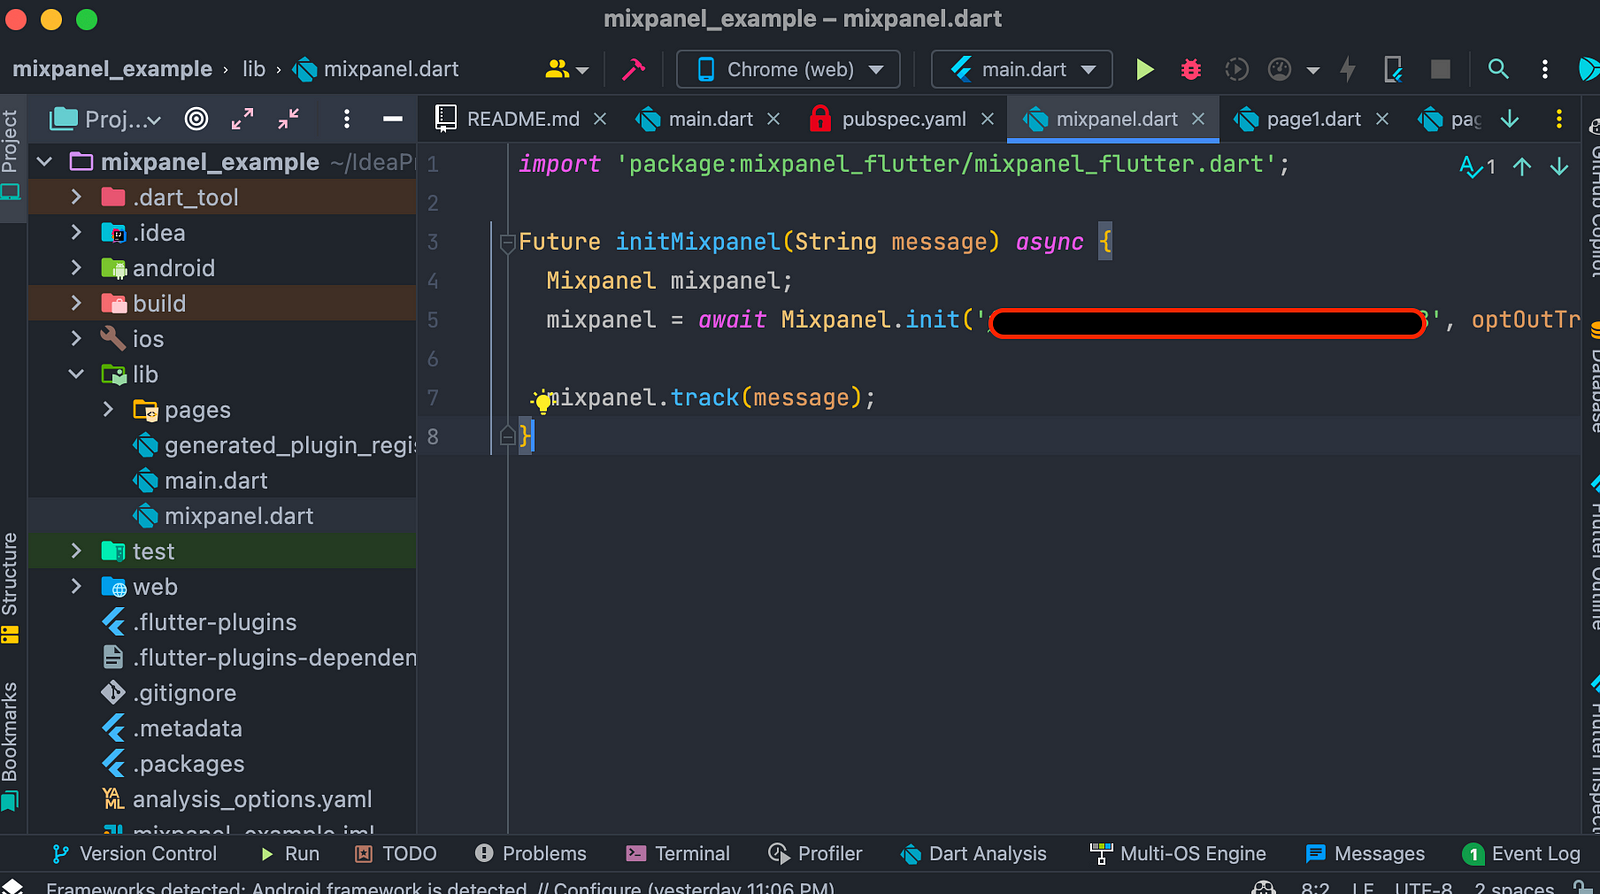
import 'package:mixpanel_flutter/mixpanel_flutter.dart';

Future initMixpanel(String message) async {
  Mixpanel mixpanel;
  mixpanel = await Mixpanel.init('mixpanel_project_token', optOutTrackingDefault: false);

  mixpanel.track(message);
}
Breaking this down:
a. We are importing the new package “mixpanel_flutter”
b. We created a new Future called initMixpanel that is requiring a String called “message”. We are using this string to call another mixpanel method called mixpanel.track. (I’ll get into this later).
c. We are then to call the mixpanel token function so we can initialize our Mixpanel whenever we call this class.
d. Finally, within this class; we call the mixpanel.track. This will trigger an event from our app to mixpanel! Using our required String message — we can dictate what we want displayed on mixpanel.
WidgetsFlutterBinding.ensureInitialized();
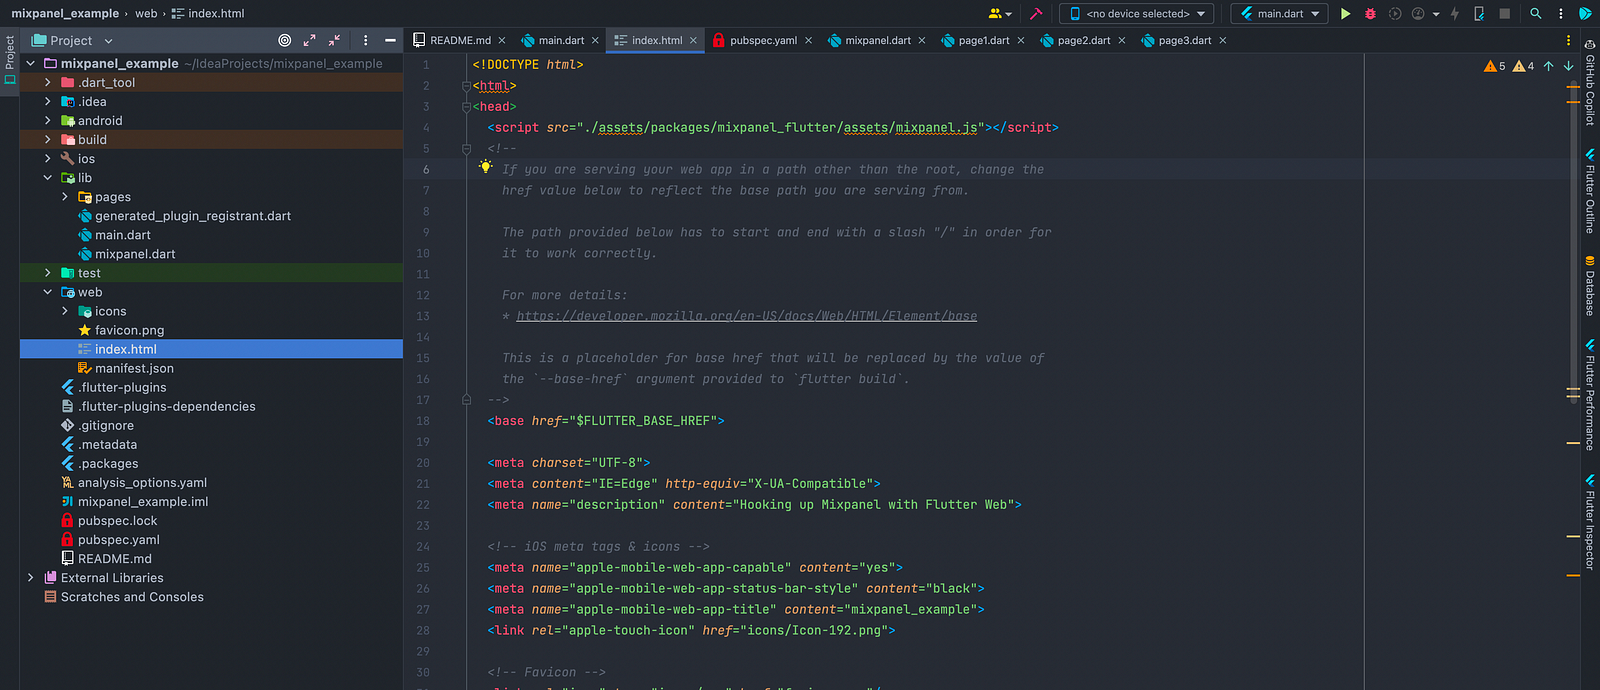
10. Final Setup for our Mixpanel Calls! Running the scripts in our index.html.
<script src="./assets/packages/mixpanel_flutter/assets/mixpanel.js"></script>
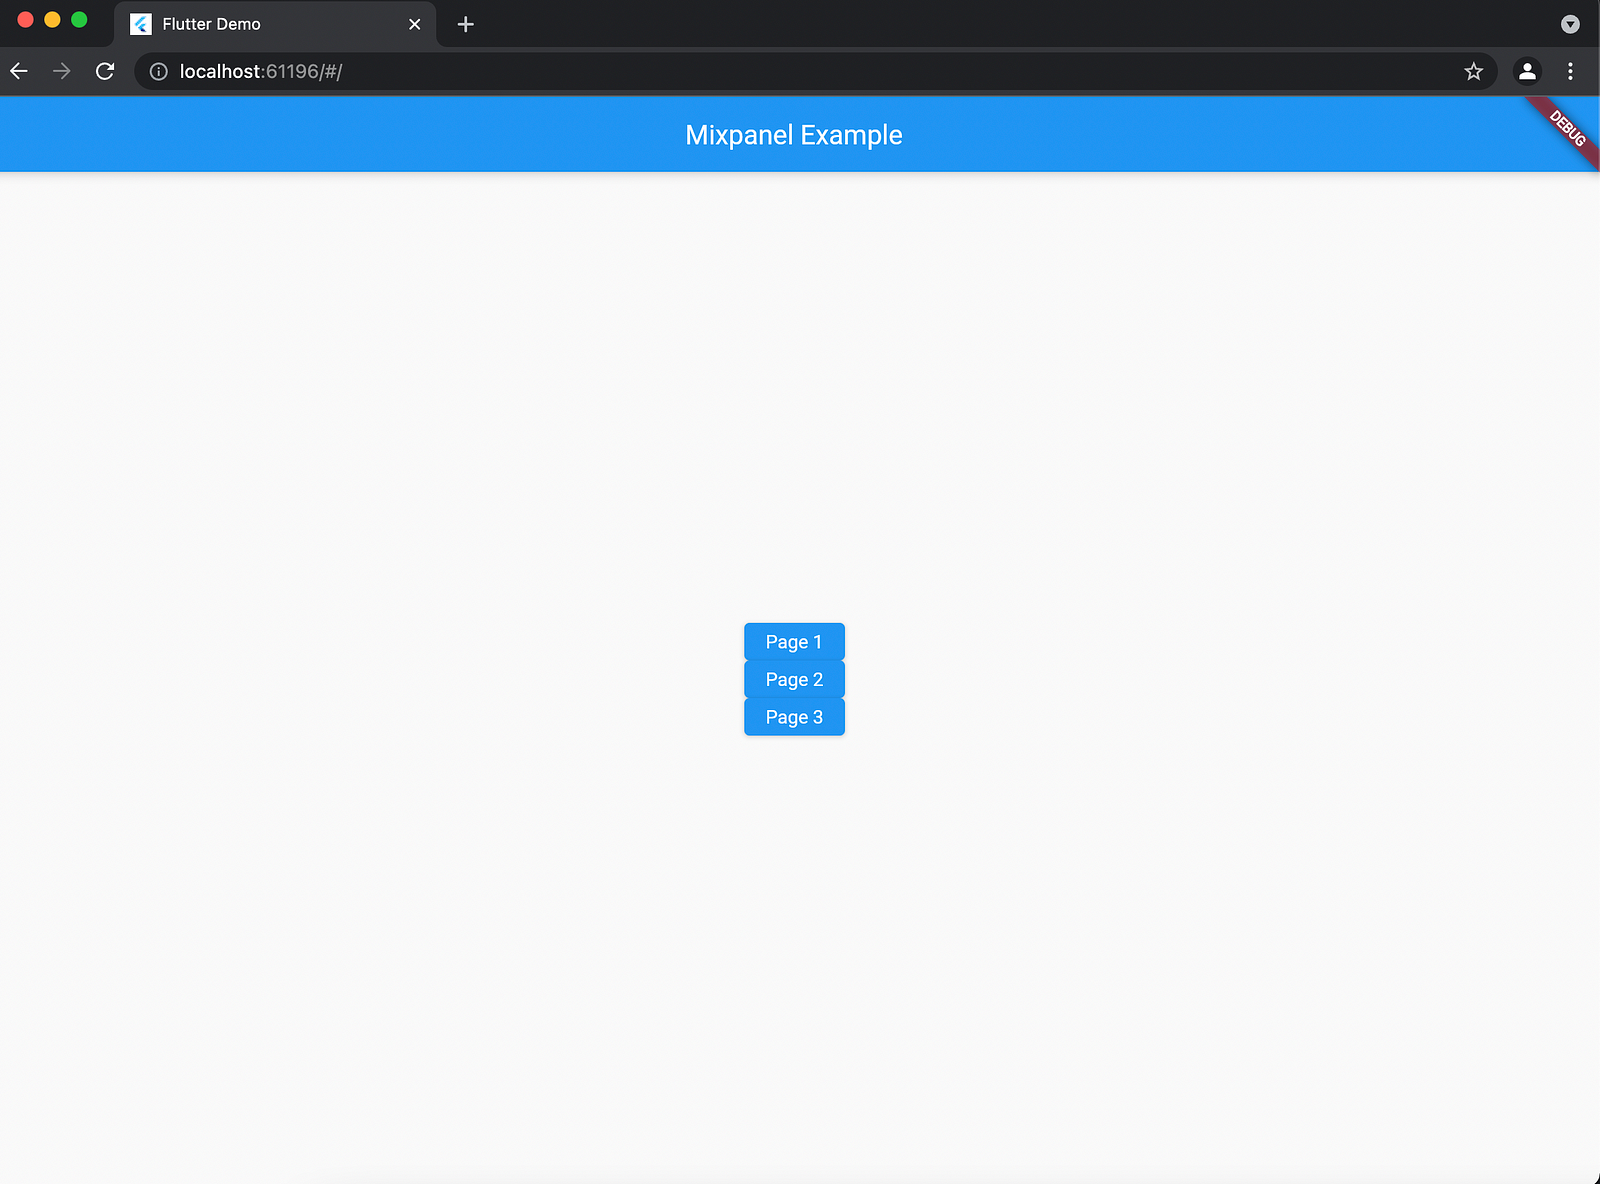
11. Test it out! Perform Hot-Restart and then view your results on Mixpanel’s events!
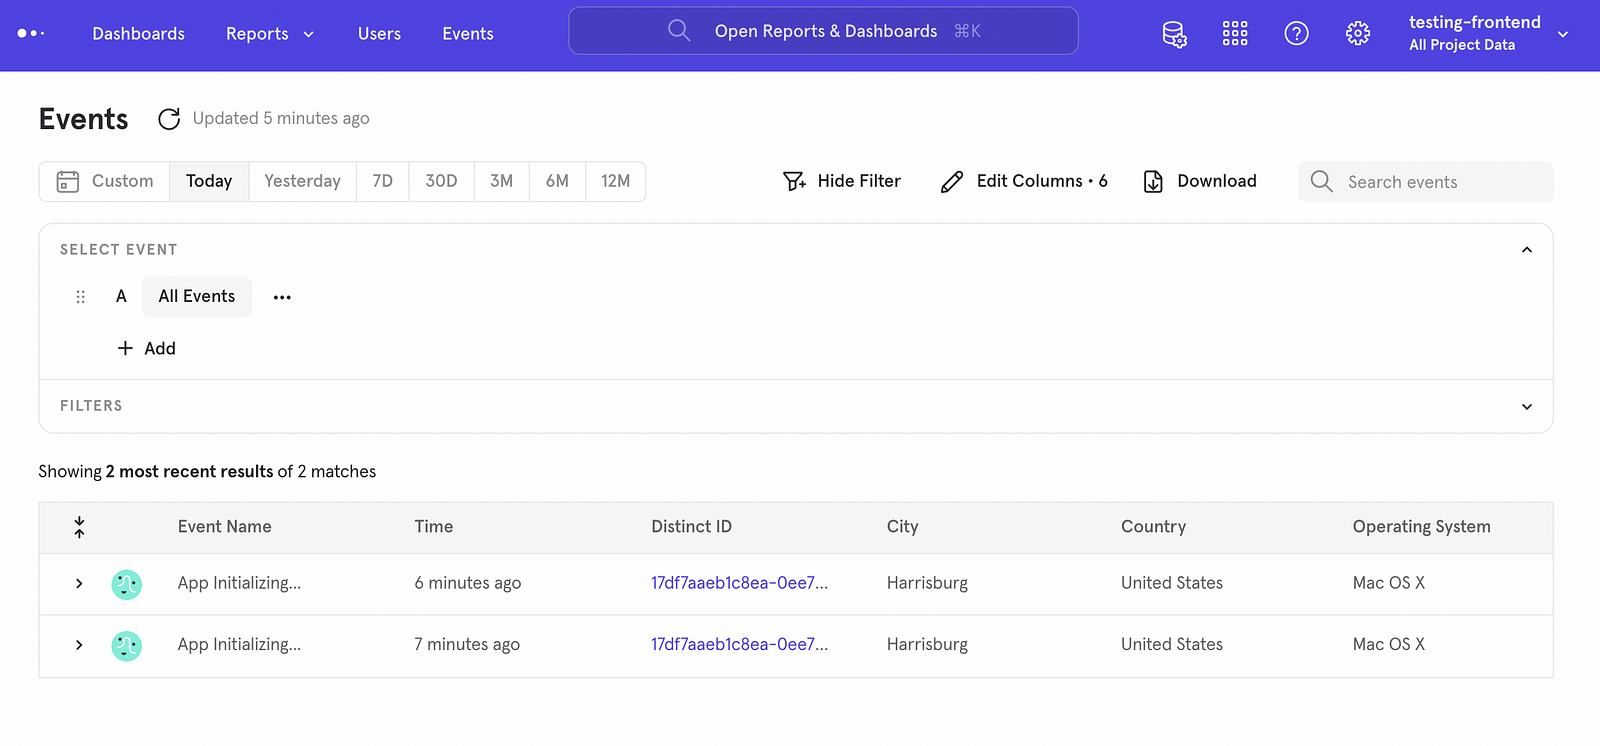
Since we initialized our class whenever the app starts — it’ll show up here whenever our main() is triggered!Newly Restarted App!
12. Calling our initMixpanel class whenever we want to see an event.
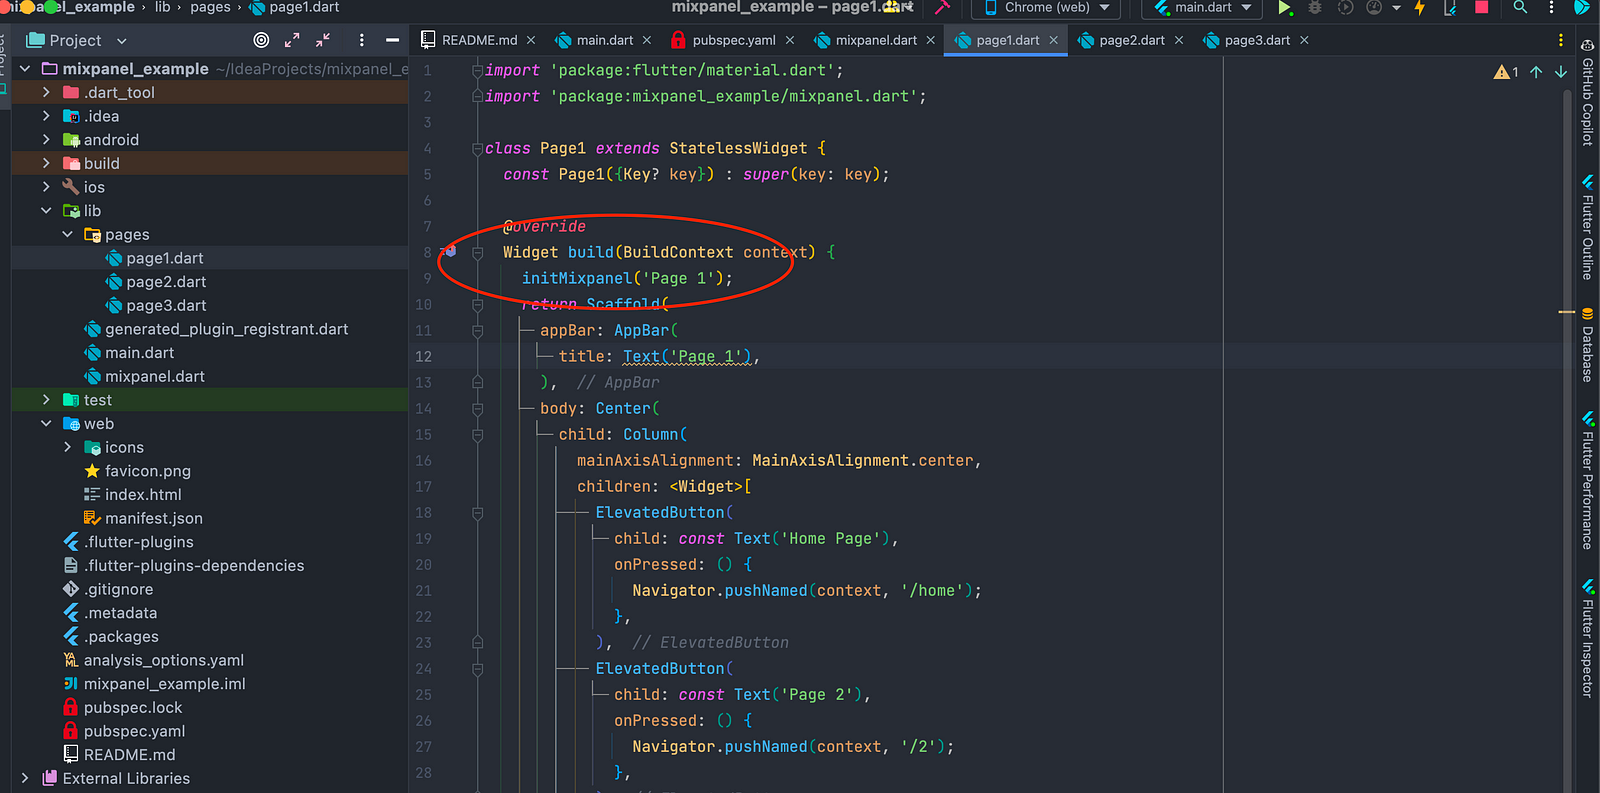
All we need to do is call our initMixpanel class with the required String and it’ll show up whenever the tree rebuilds!
All we need to do is call our initMixpanel class with the required String and it’ll show up whenever the tree rebuilds!
This concludes our Flutter Web with Mixpanel Tutorial!
There are several things that can be done from here such as environment specific triggers, proper ways of hiding token and api information, triggering events when a button is pressed and a whole lot more!
Be sure to checkout the Mixpanel documentation to see what other things you can do!
I hope this tutorial helps you as much as it did me!
Cheers,
